Background:
I got rear-ended on the interstate on the way to work one day… a pretty significant hit – actually made the bed strike the cab. It didn’t BEND the frame (between the axles), but it did to some damage to the bed, cab, and rear portion of the frame.
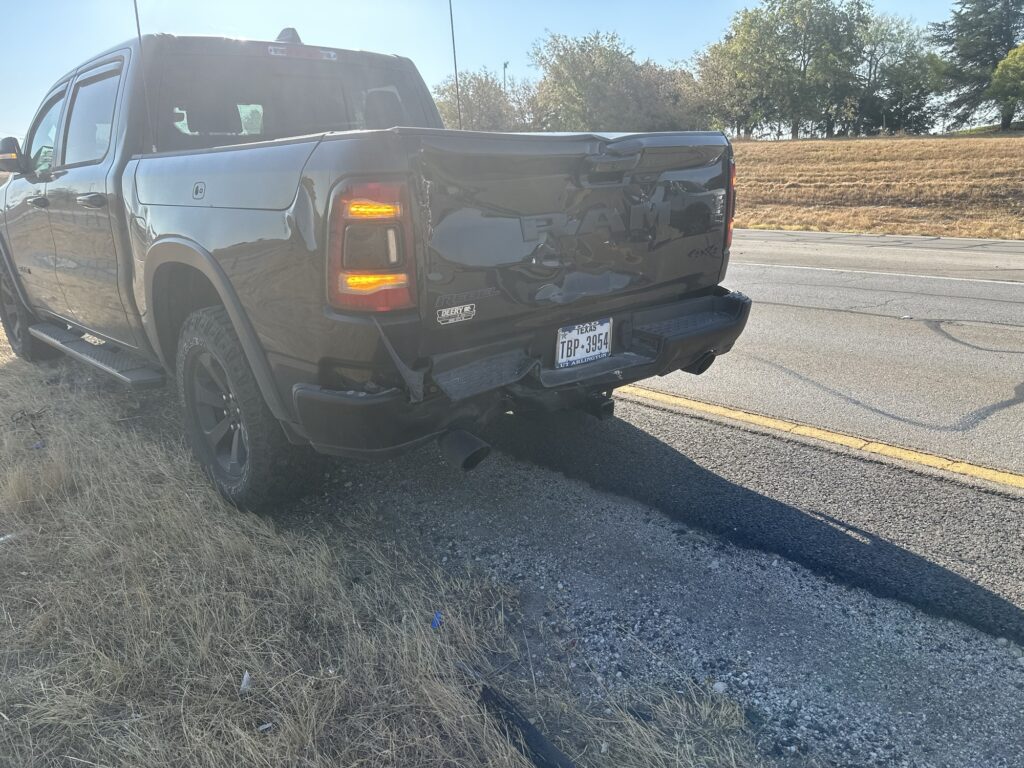
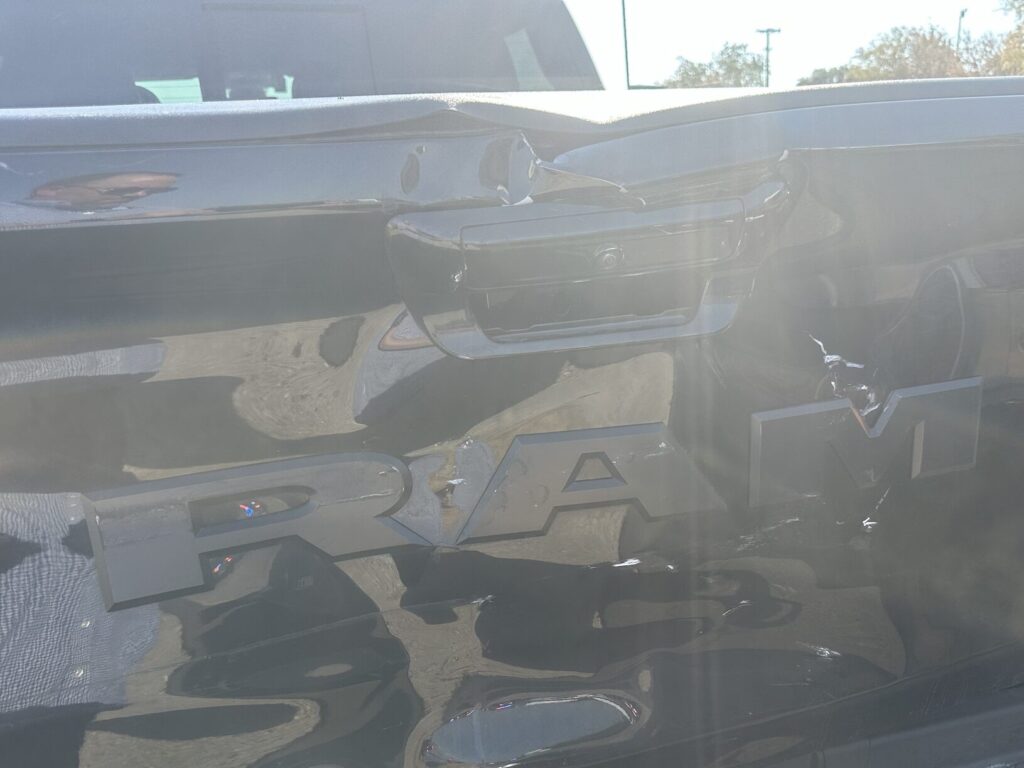
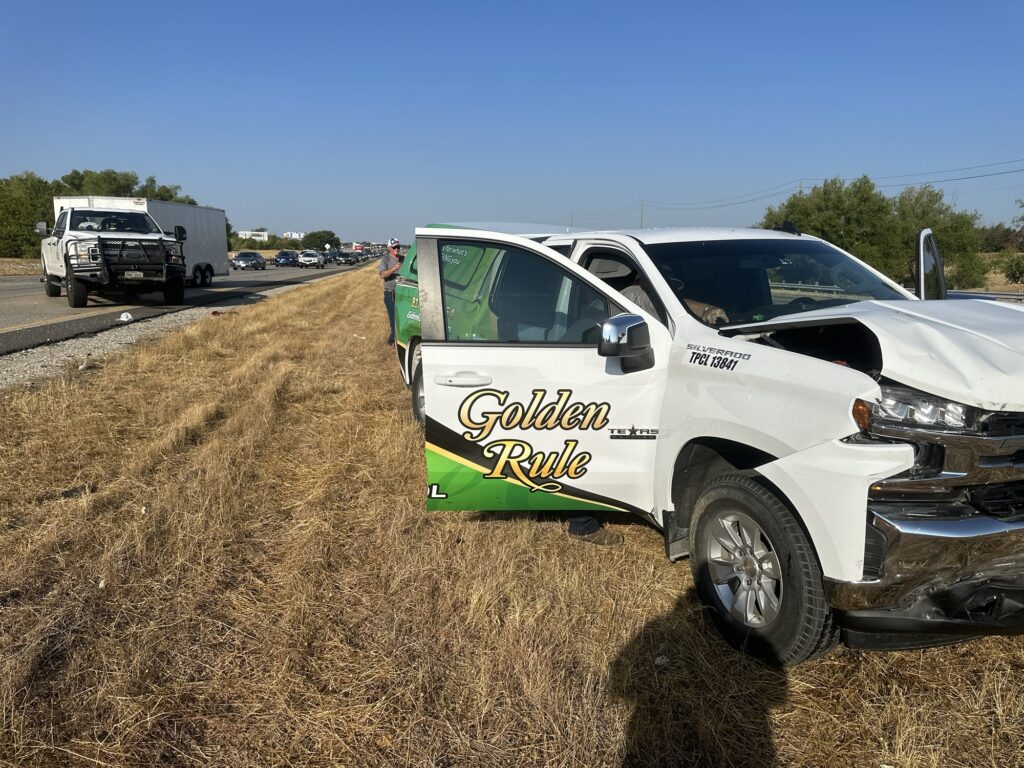
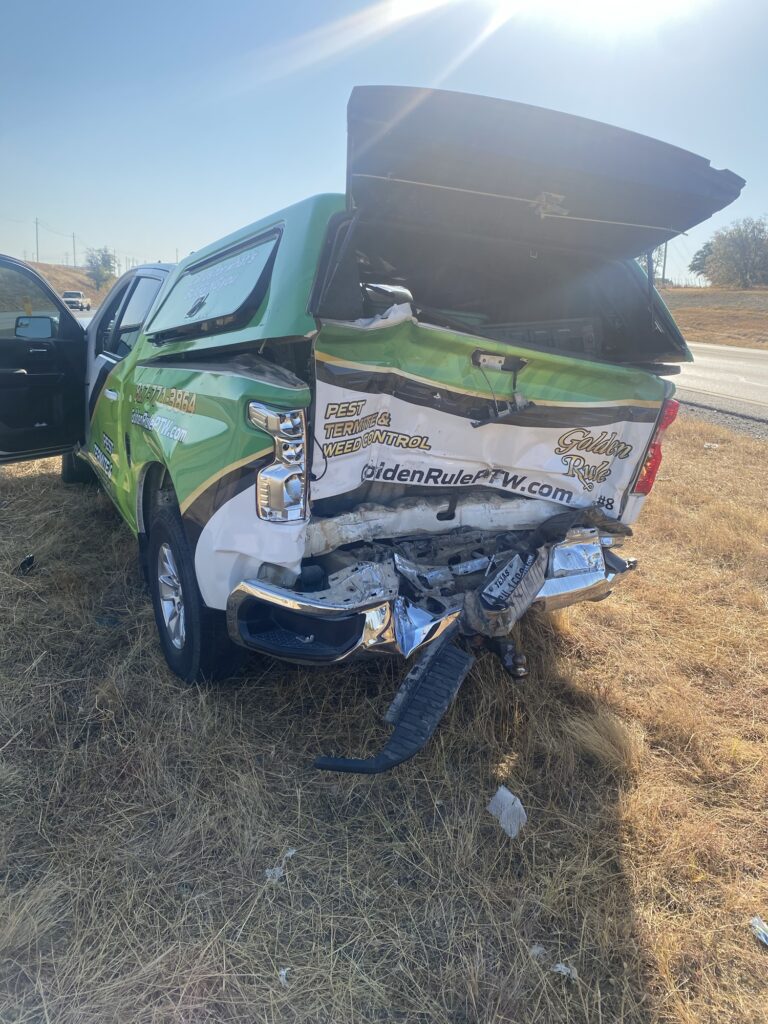
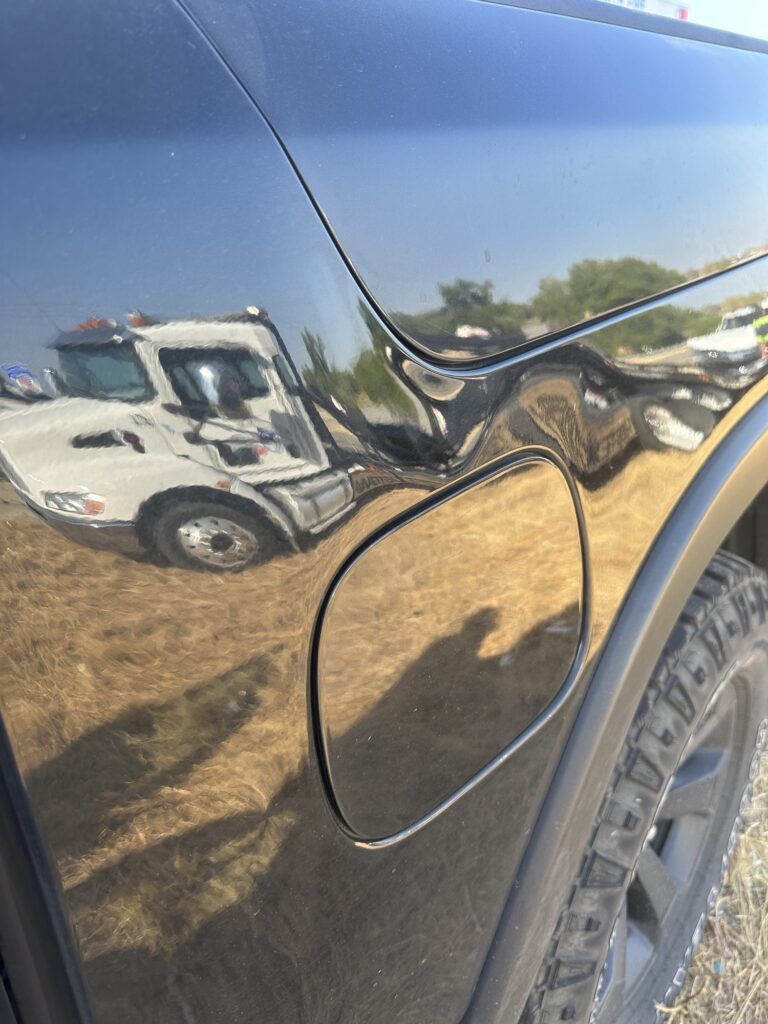
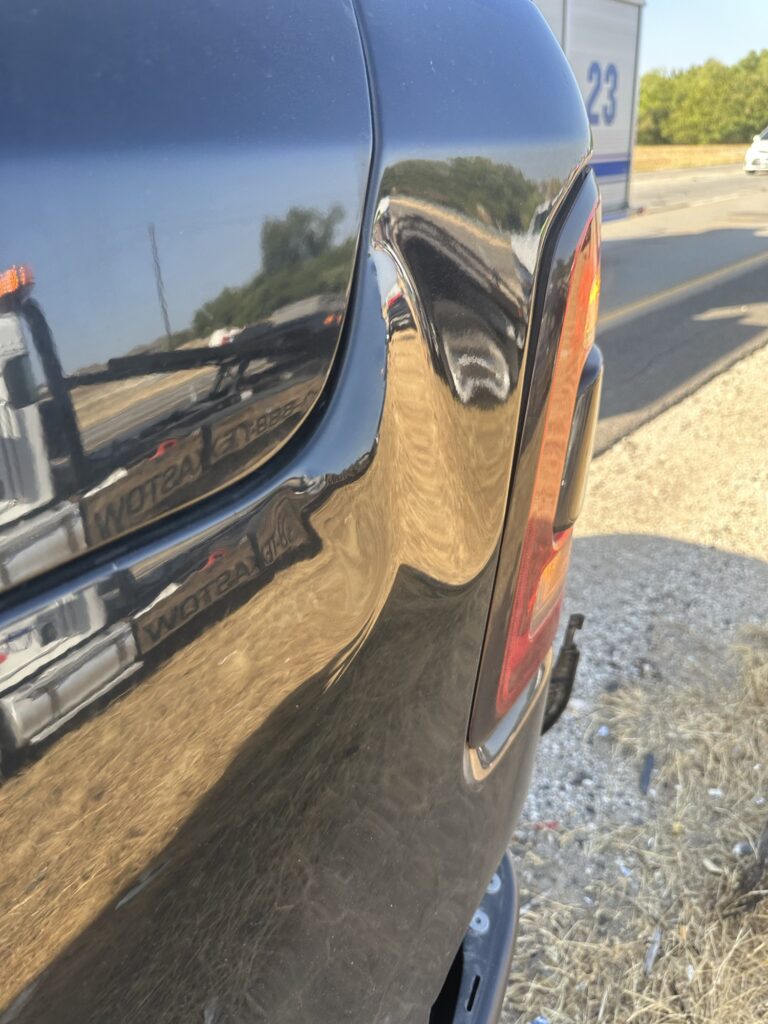
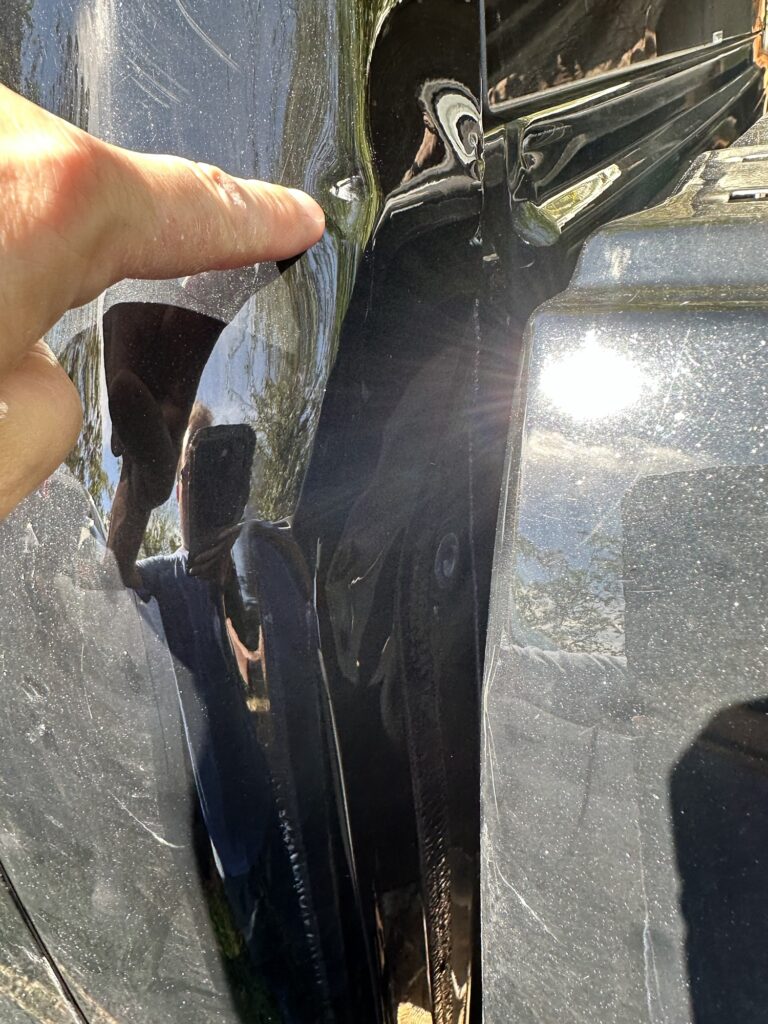
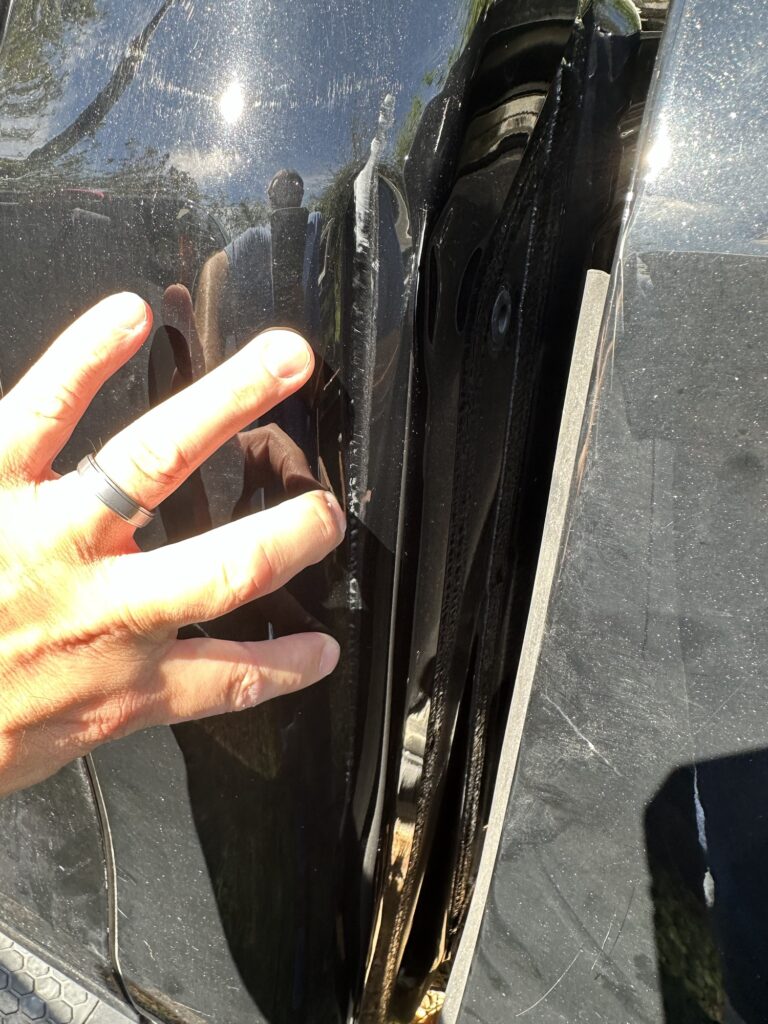
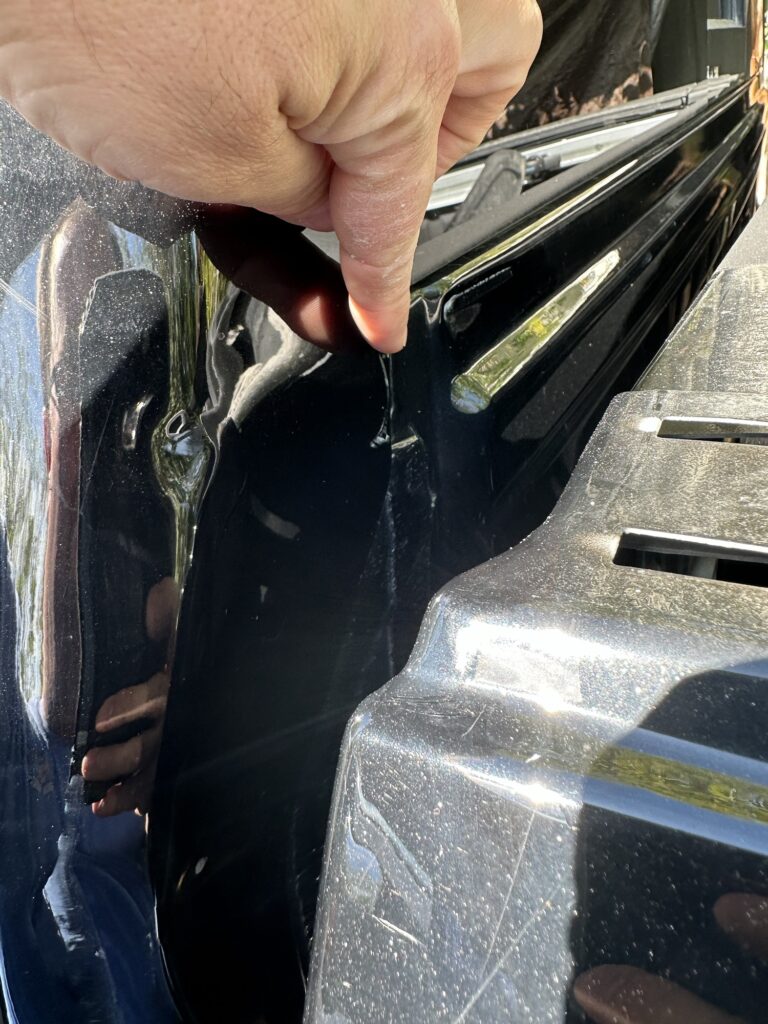
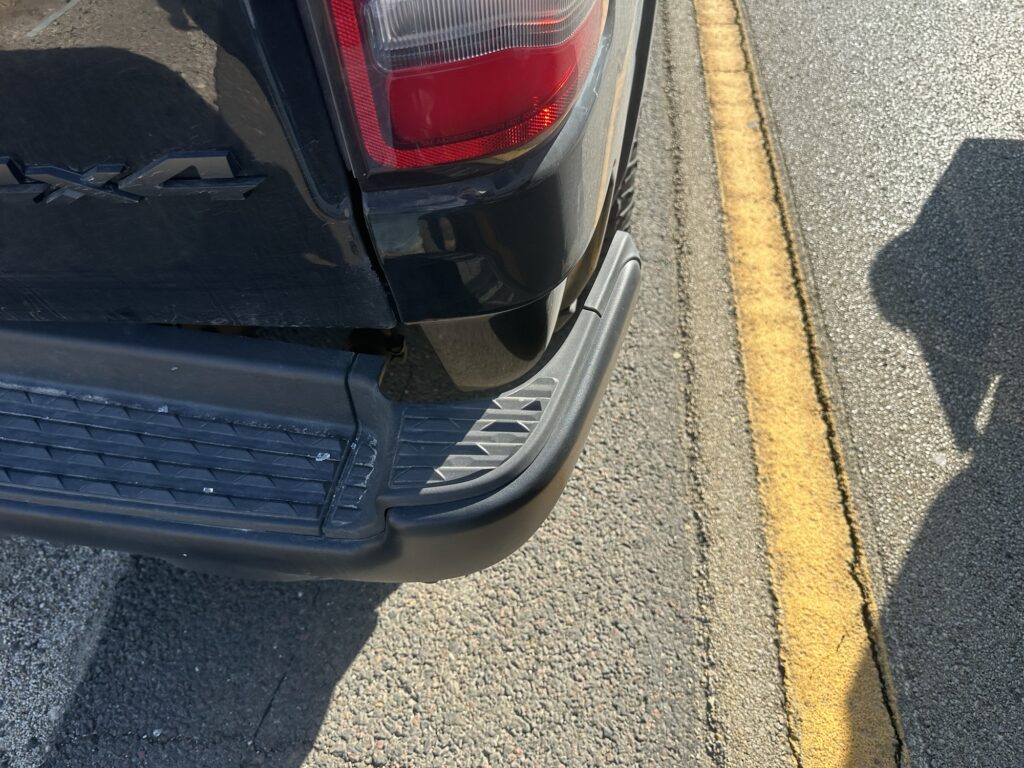
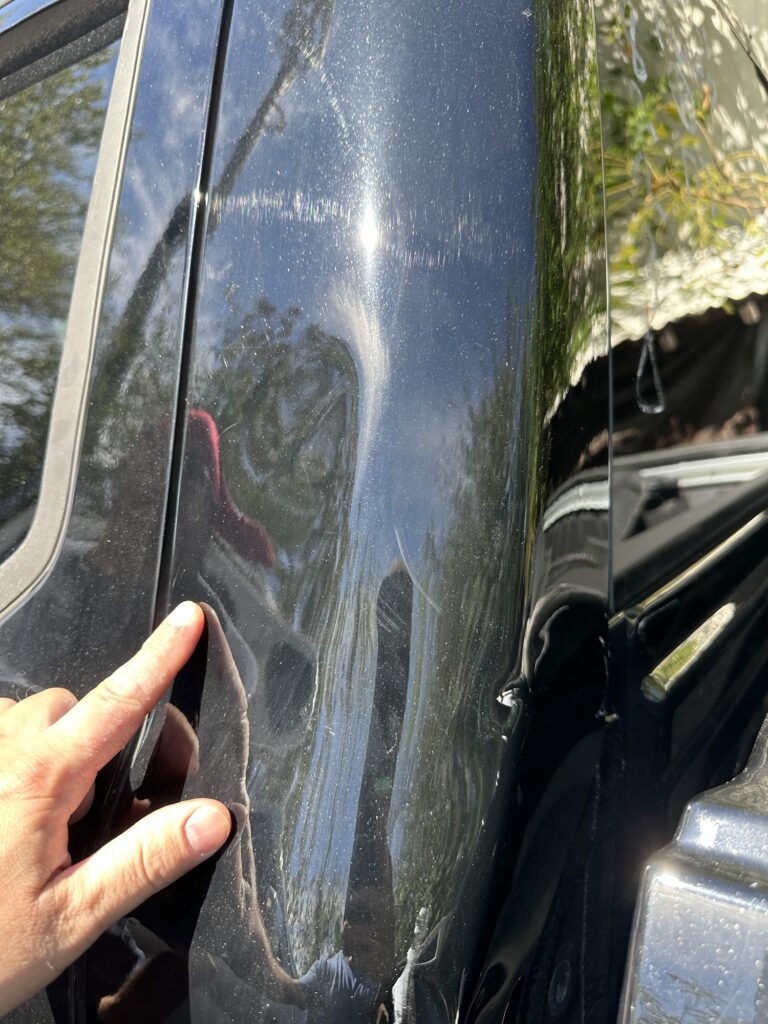
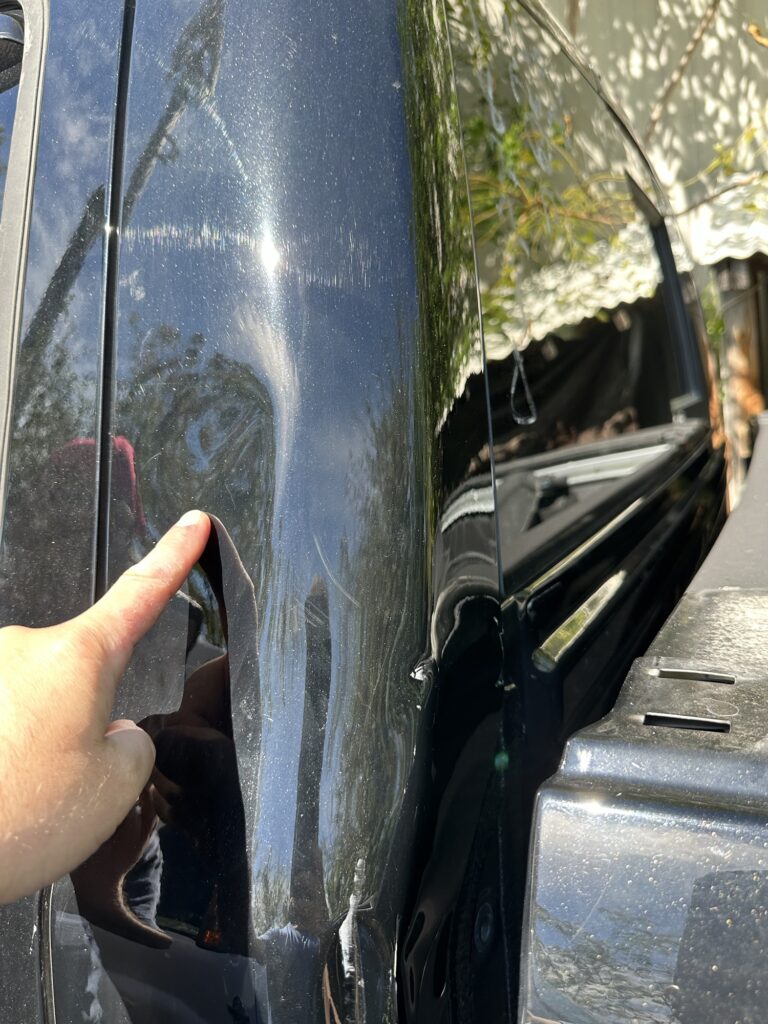
- Cab repair
- Bedside replacement / Bed repair
- Tailgate replacement
- Bumper replacement
- Last 12” of the drivers side frame repair
- Hitch receiver replacement
The body shop did a great job sourcing a multifunction tailgate (MFT) for my truck. We found a nice aftermarket bumper. For the frame and hitch receiver, they found a donor chassis – based on the hitch receiver having rear tow hoops, I believe it was a TRX. Note that the hoops are a simple “bolt-on” item, that affix to the OEM hitch receiver.
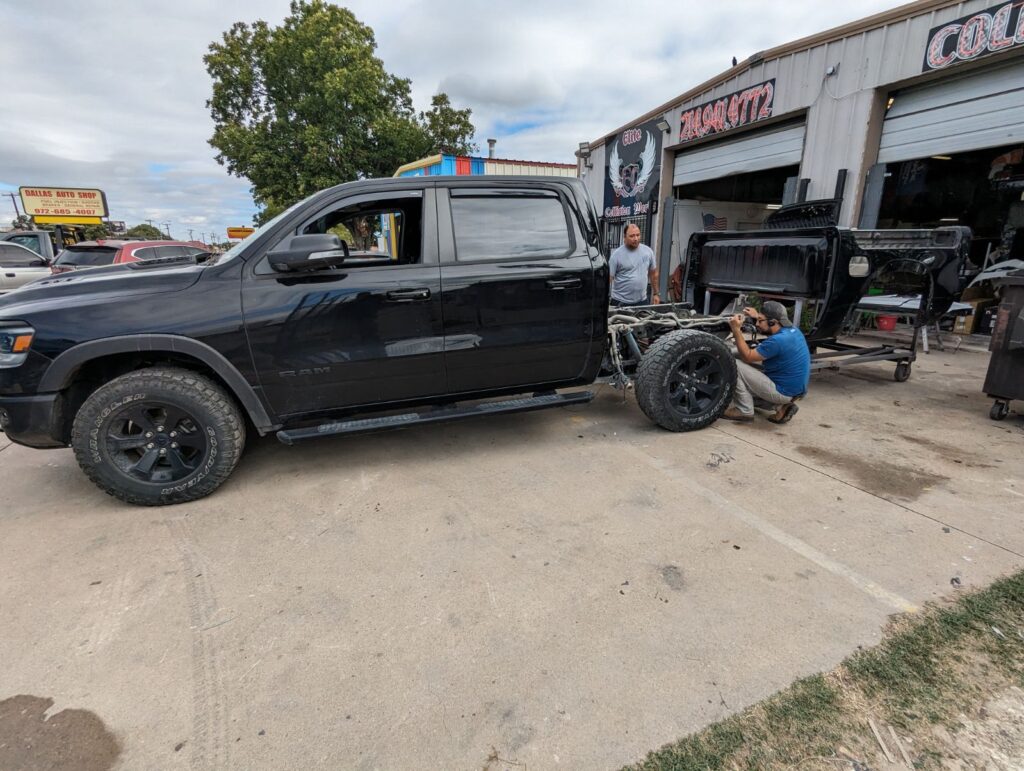
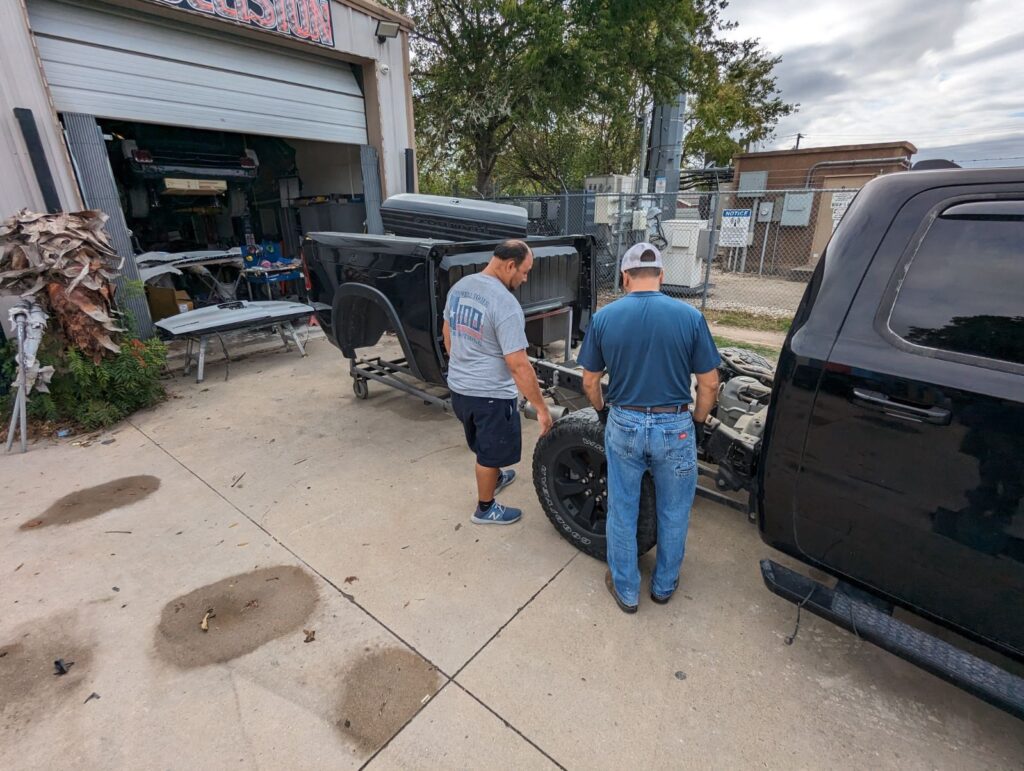
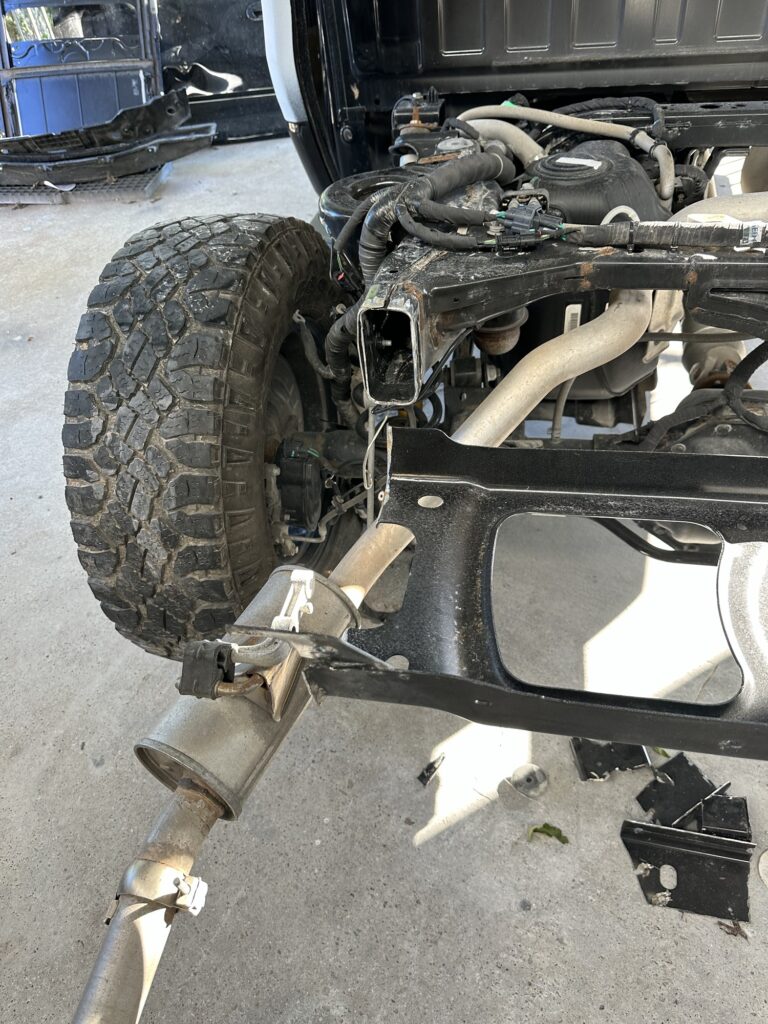
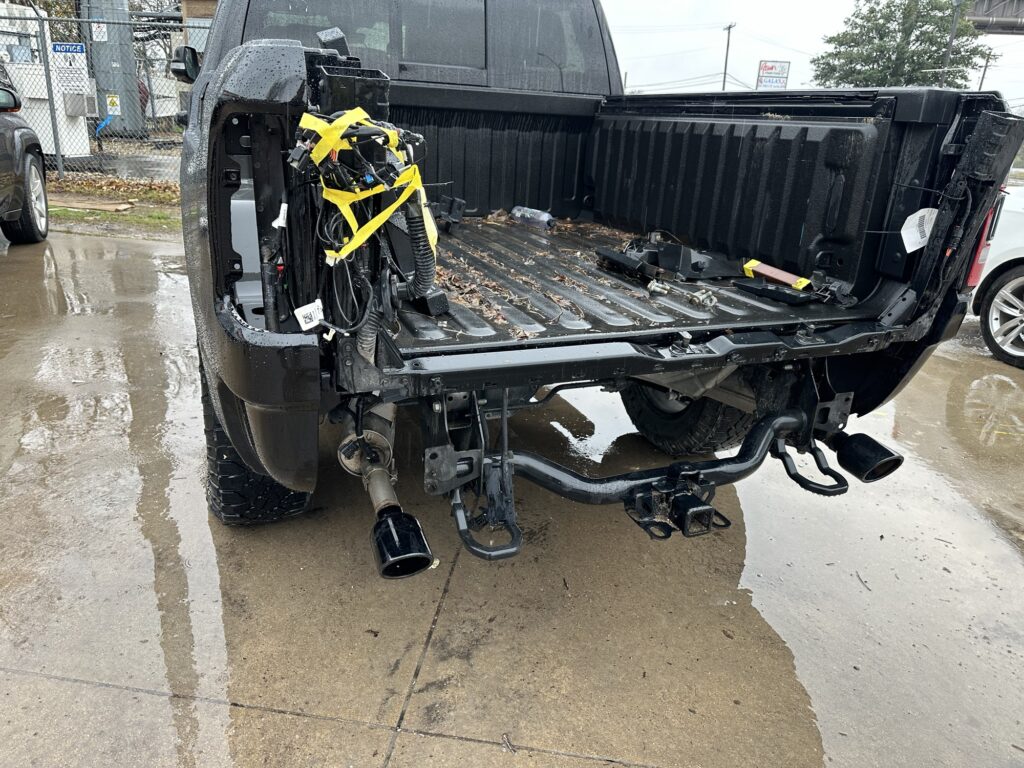
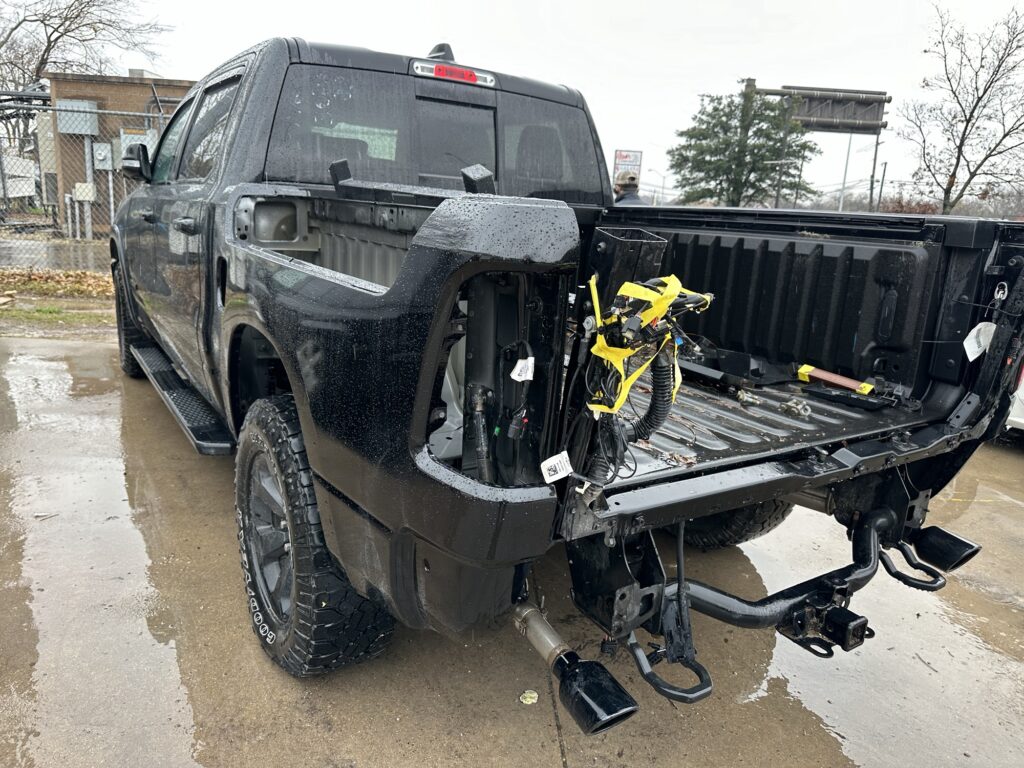
We ran into a few minor issues… as the project progressed.
Wiring:
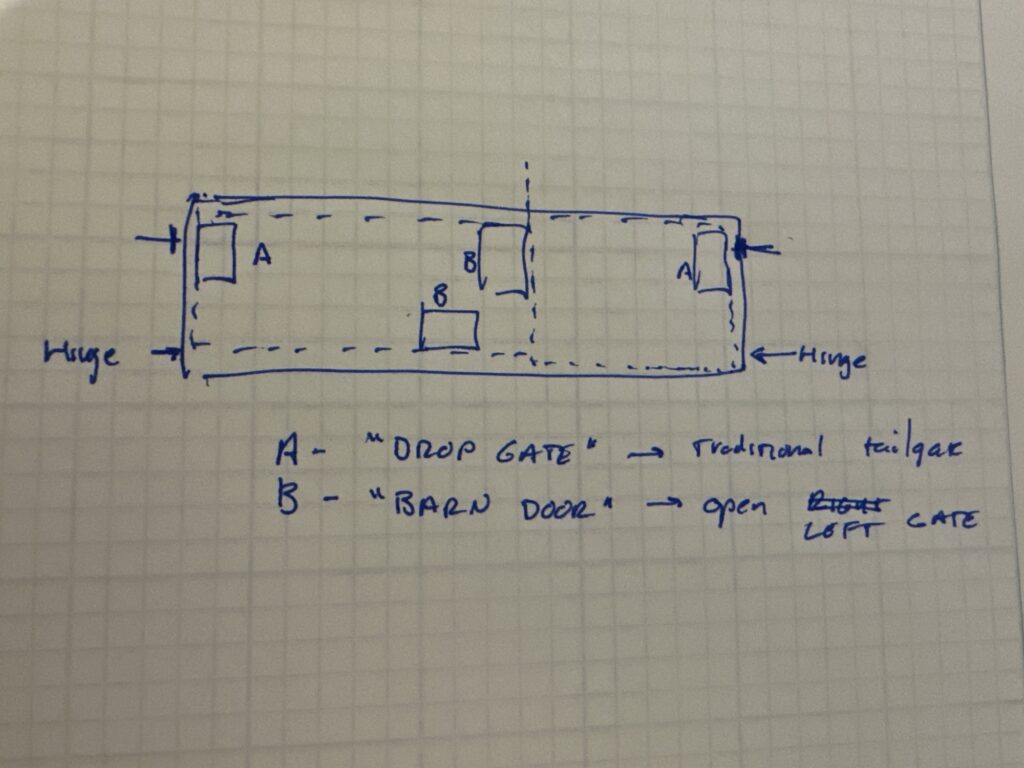
First, the tailgates (MFT vs. original gate – “OG”) have very different connector pinouts – same connector, but different wires populated. Initially, we were worried we needed to add wires to the harness or re-pin the connectors. The chassis harness formt he donor chassis mentioned above was very different from the new tailgate. After some inspection, we found that the 2020 Ram Rebel (my truck) has all 8 pins on the chassis harness tailgate socket fully populated. This was a huge relief.
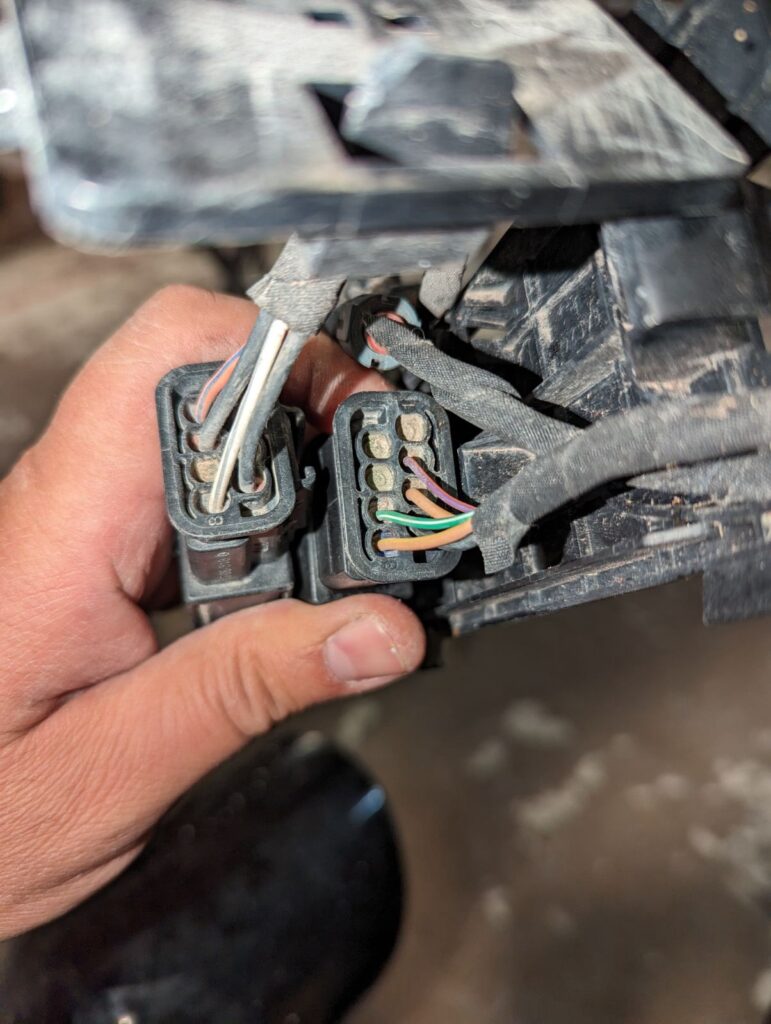
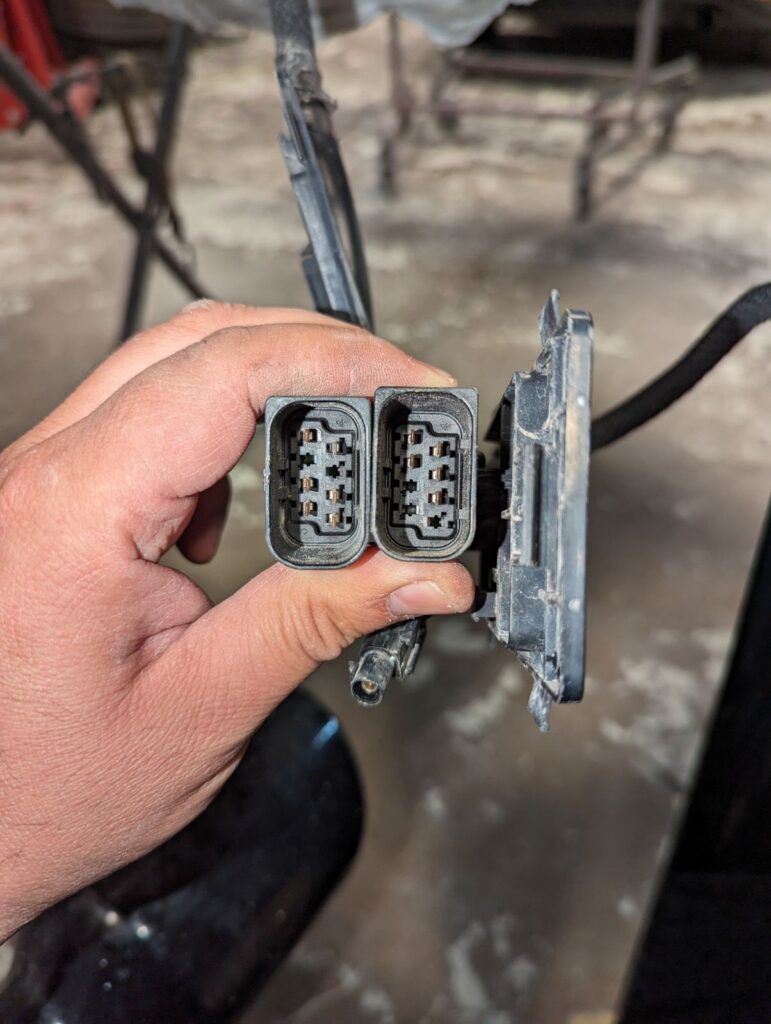
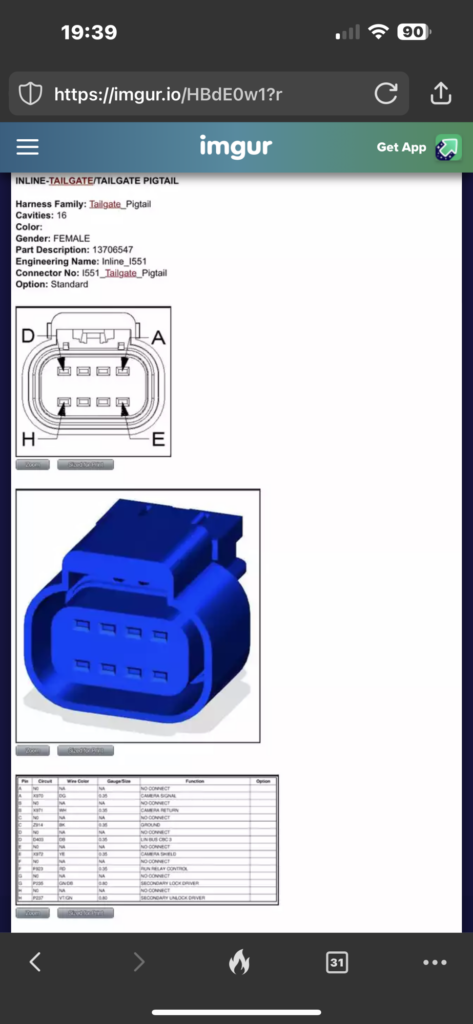
The takeaway is that the TRX did NOT have the MFT as an option – and therefore the chassis harness did NOT have all 8 wires populated.
Structure
Here’s where it got a little sketchy. The hinge location is fine. The frame mounts fine, and the tailgate cables work. No issues.
The strikers, however, are the primary issue to resolve.
The MFT strikers are mounted ~1” farther forward on the bedside than the OG strikers. There might be a fraction of an inch vertical difference, based on making measurements.
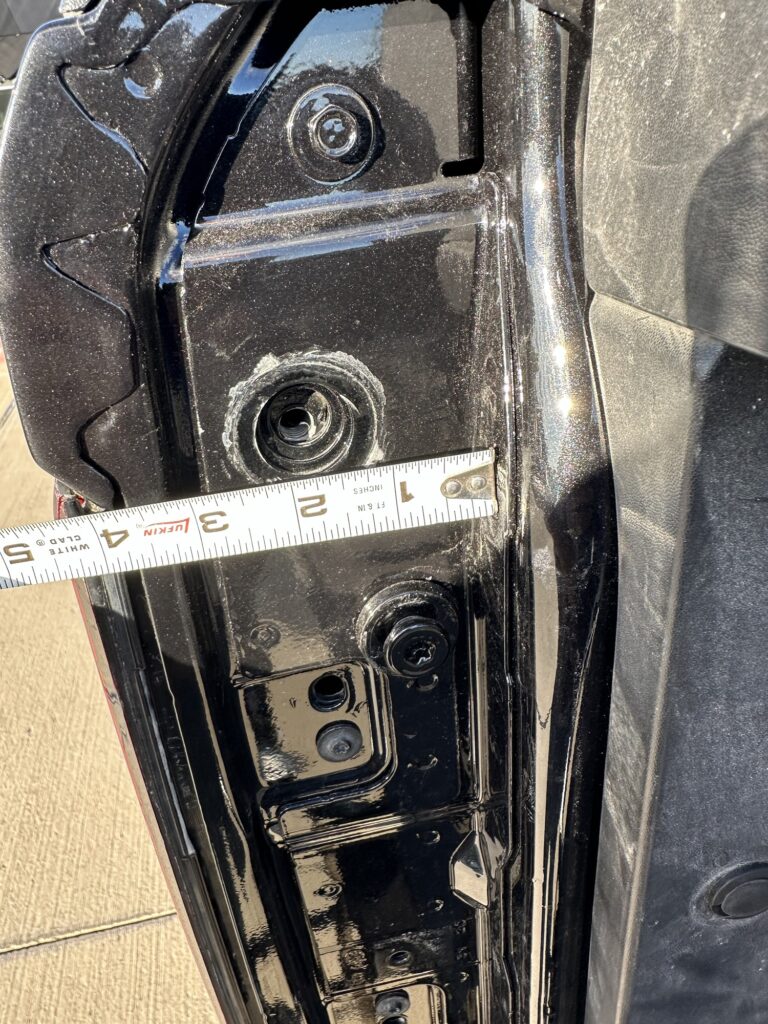
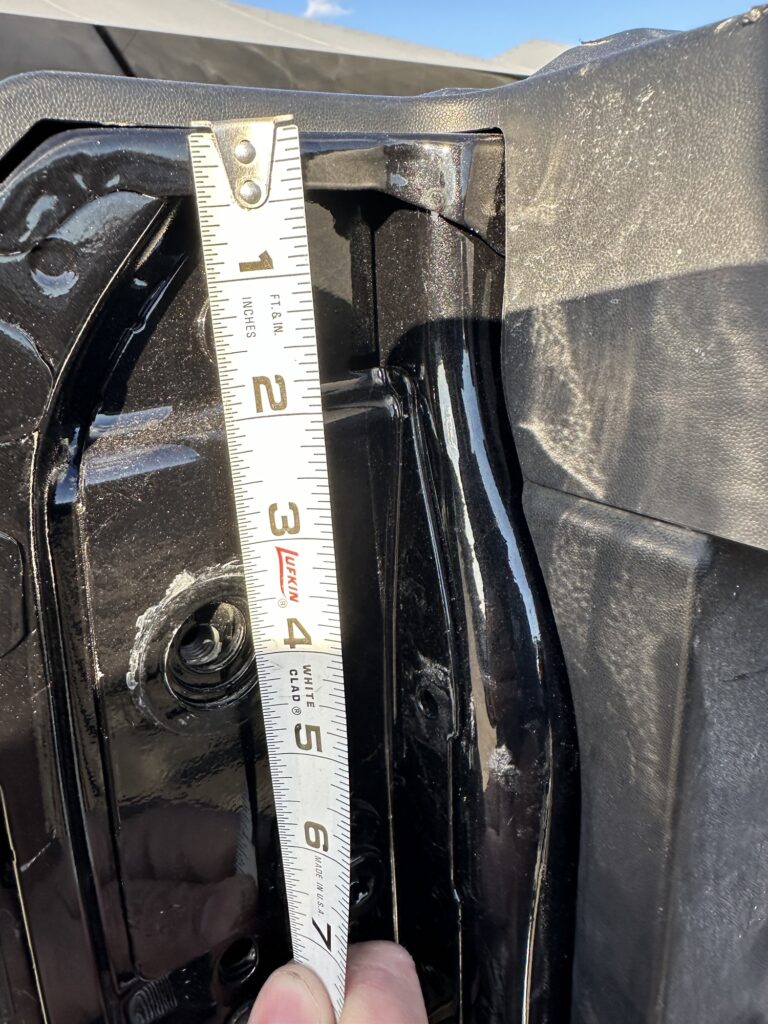
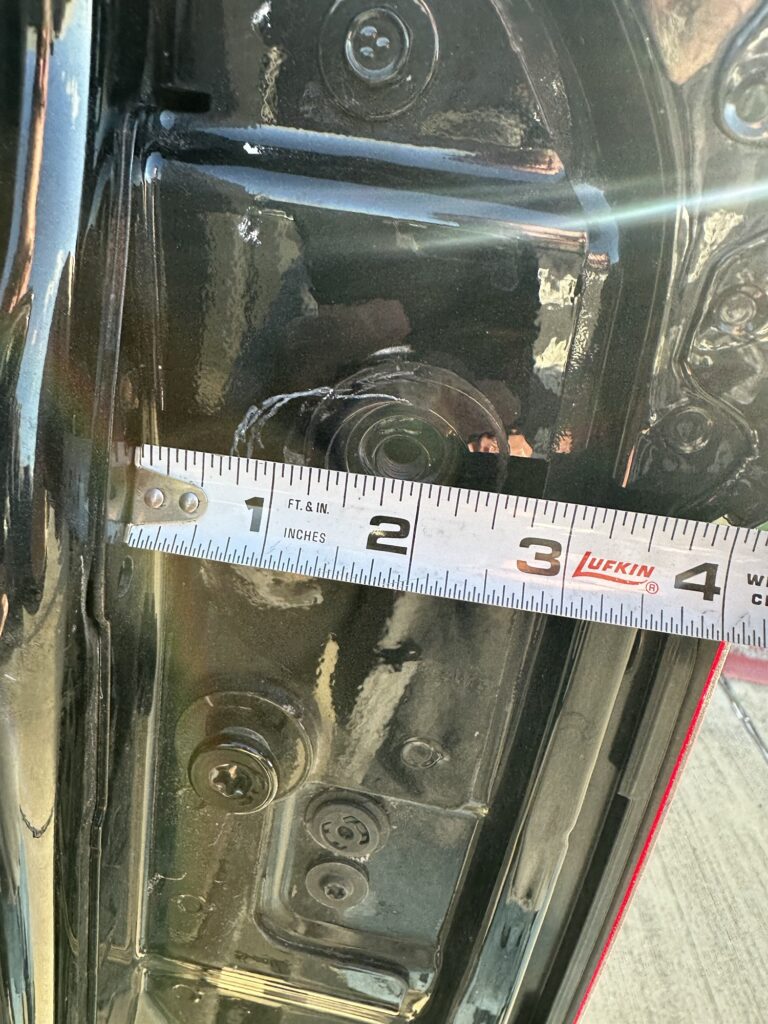
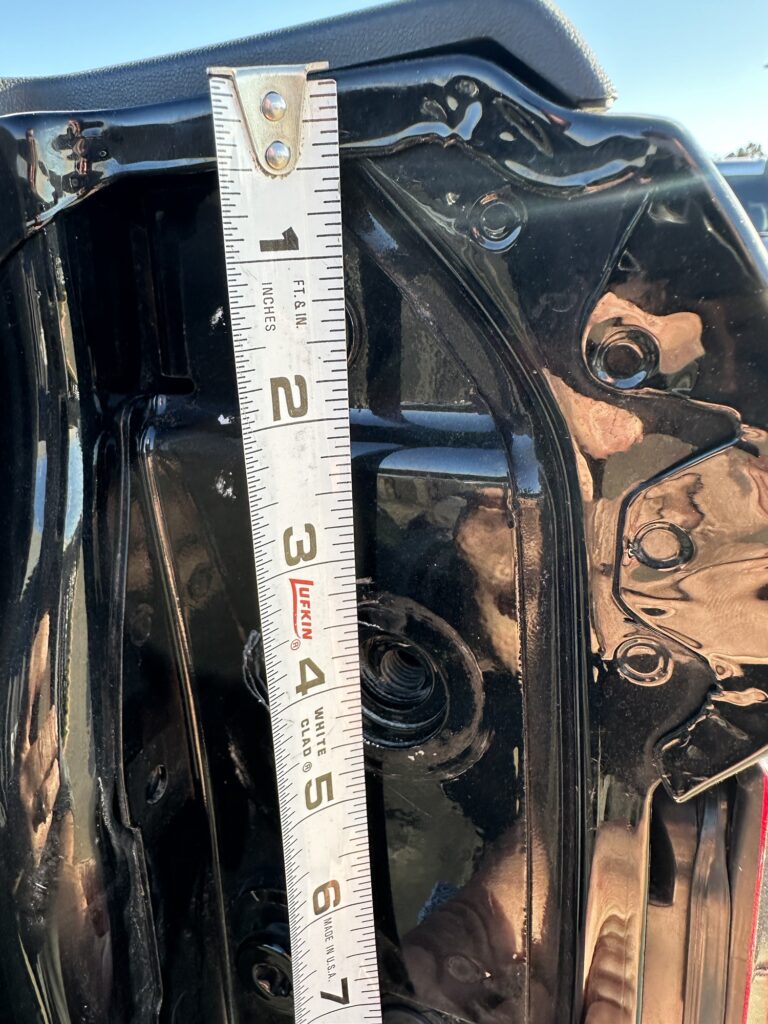
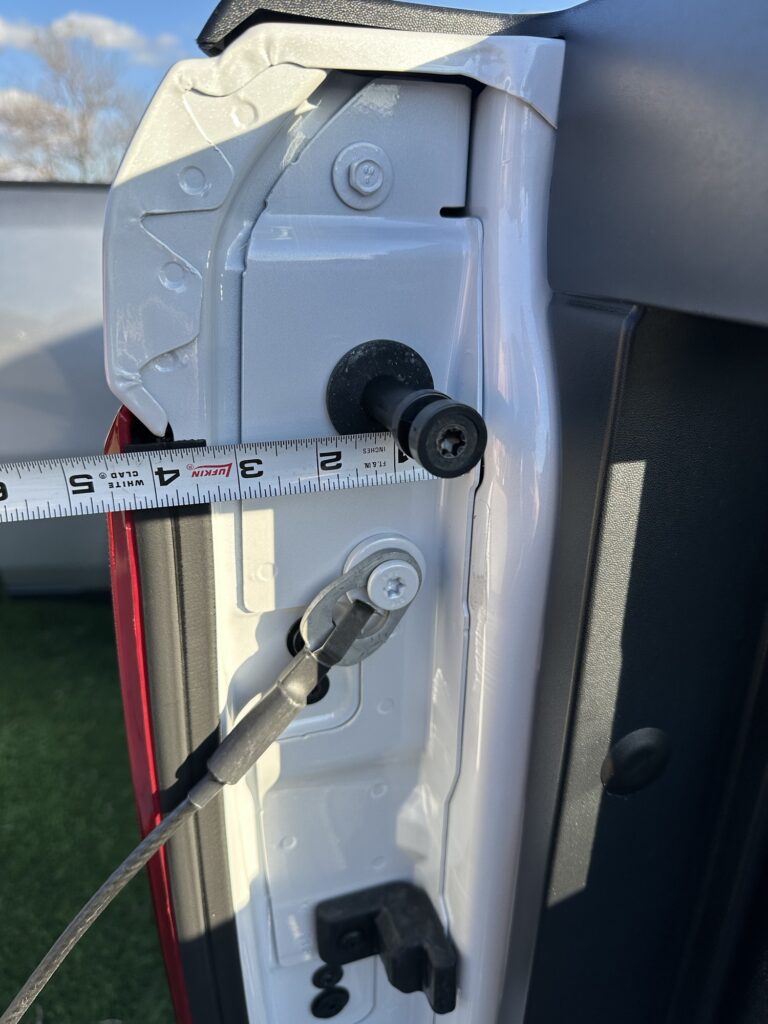
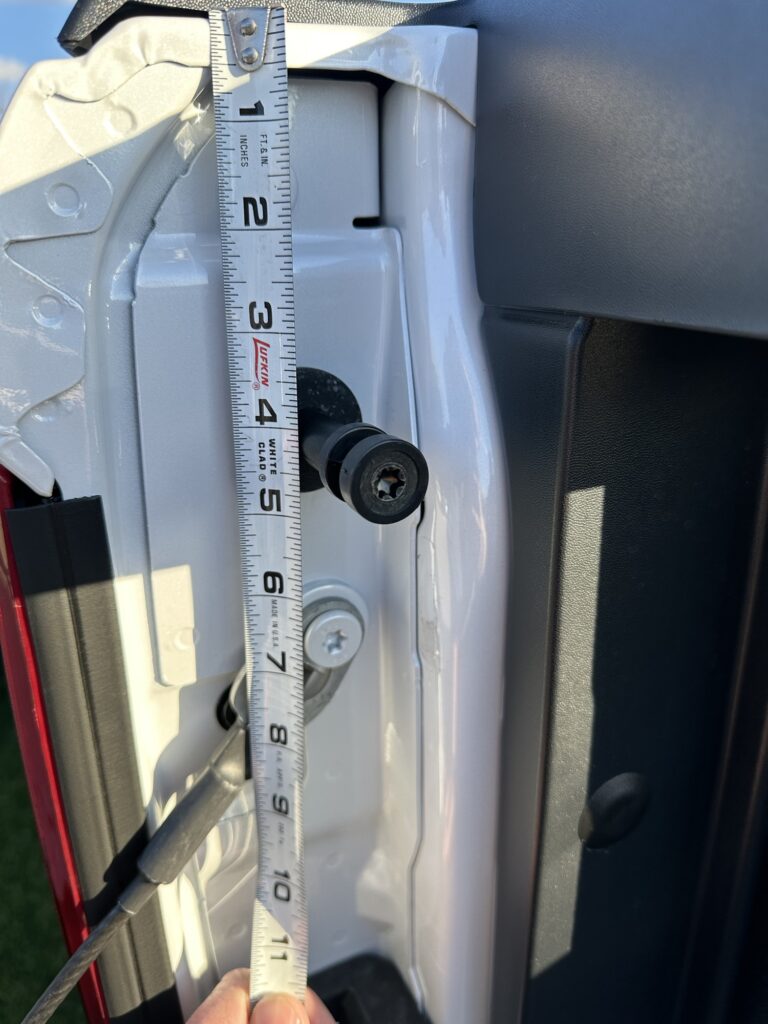
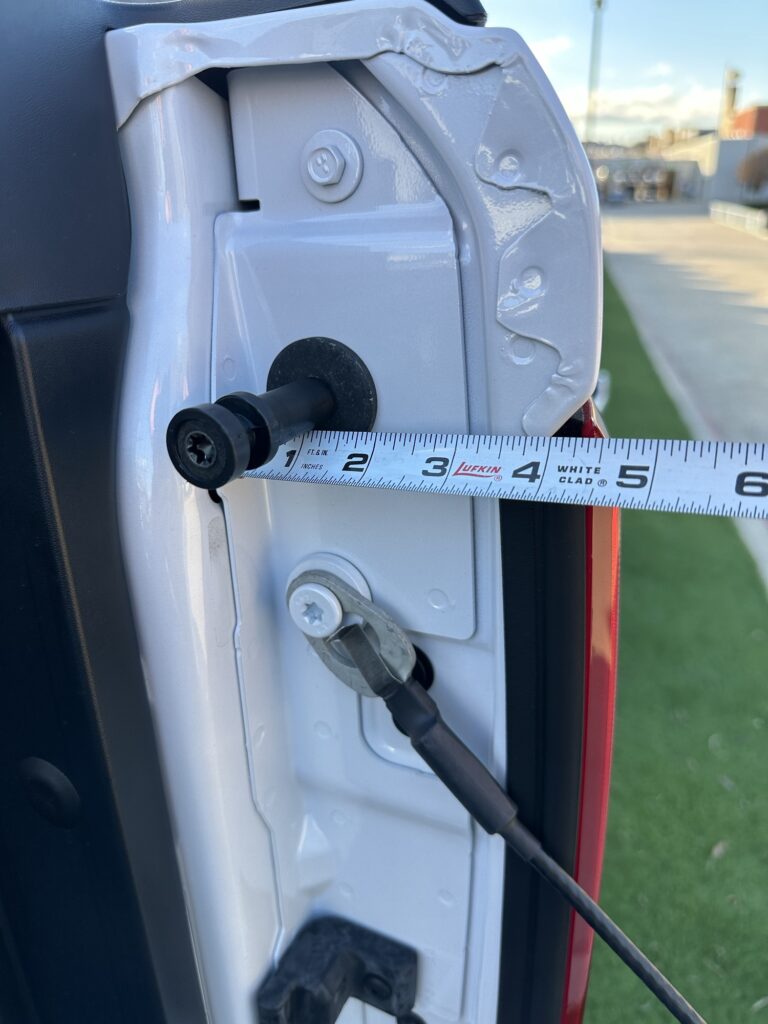
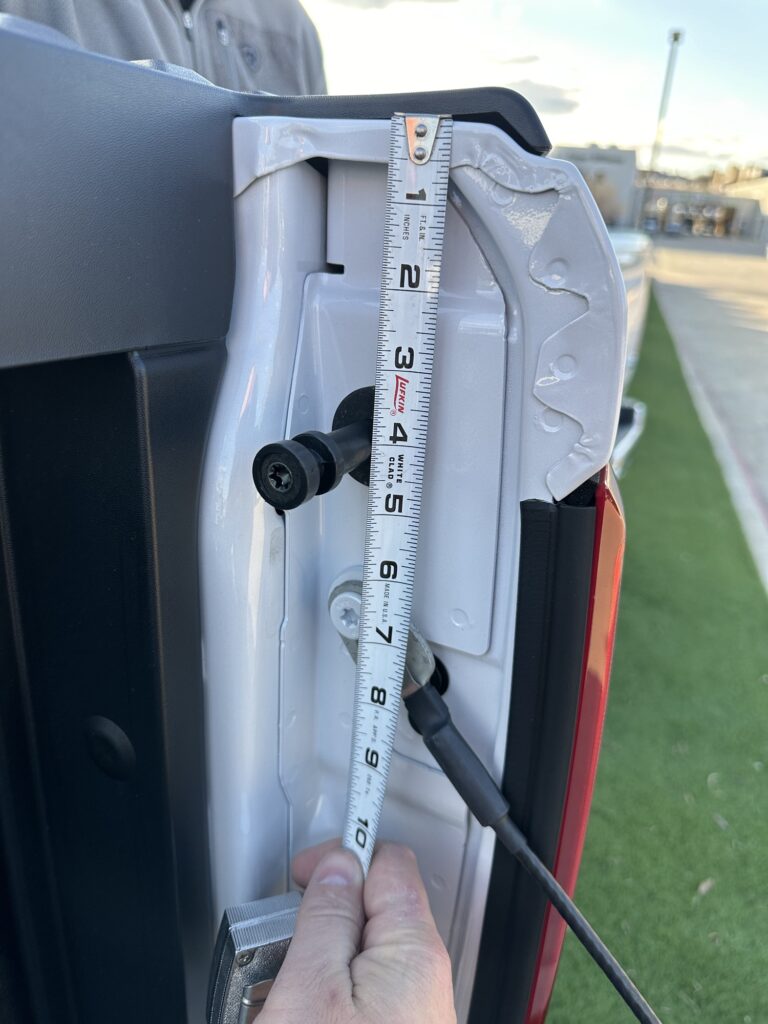
The MFT strikers are ¼” – ½” longer, as in, they extend further away from the bedside. This isn’t a hard fix – they can be unscrewed, and the washer threaded down the shaft of the bolt.
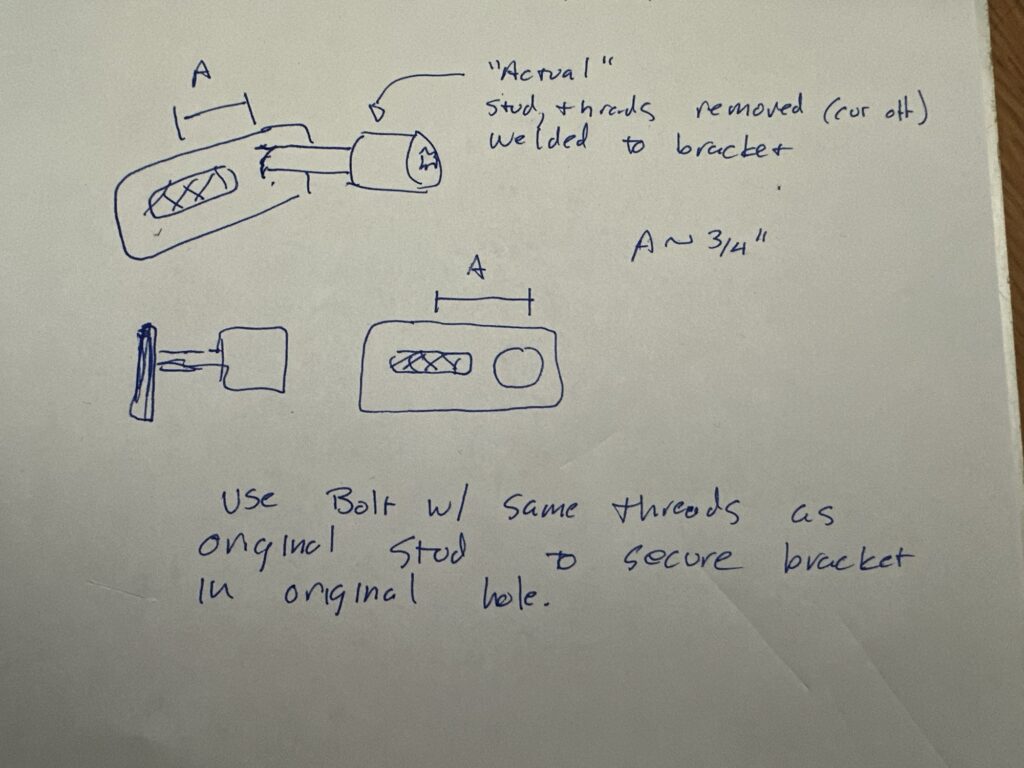
The body shop and I both came up with a simple adaptor, because there is sufficient play between the bed side and the tailgate frame:
This allows almost infinite adjustment of striker location (within a defined region), if we can secure the bracket from rotating unintentionally – but there will no longer be striker length adjustment, except maybe for a bracket and nut depth. (Note: Turns out dimension “A” in the image above needs to be approximately 1″)
The other option was to just measure, measure, measure, and then move the striker hole in the bed.. but we really didn’t want to hack up the bed side, since it was already completed.
Operation
Initially, the body shop thought the new gate was totally non-functional. While the sheet metal was getting painted, they had the internal harness and controller pulled out and plugged in for a functional check. Nothing was working. When I went over to help with troubleshooting, my first step was to close the middle-gate latches. Once I did that, the OG latch positions (“drop gate”) began working. The middle-gate would not function, though. In doing a little tinkering, it turned out one of my latch mechanisms appeared to be faulty. They have a couple sense resistors and a motor driver in them to tell fi they’re open or not, so I suspect one of them has a bad sense position. The manual release latch was broken off, so it needed to be replaced anyway.
It makes sense that one function (drop-tailgate) will not work when the barn doors appear to be open, and vice versa. This would keep the gate from damaging itself of one part is still open. Based on what I had determined previously, we ordered a new latch.
Finalization
Fast forward a bit over a year from the original accident. Strikes in Detroit, remnants of the COVID supply chain slow-down, and the details of this build meant that it took this long to just get all the parts in, especially some of the tailgate parts. I took the truck back down to the shop once we had a good time to work on it.
The first step, and biggest concern was the latch / electrical issue. Is this thing plug and play or not? well, we mounted the tailgate frame, and the left door, which houses all of the electronics. The right door had been taken off for painting, and not yet re-installed. While I worked on the electronics, Rueben the welder was working on the relocation brackets for the strikers.
Challenge one was recalling which latch was bad. Since the inside skin of the gate was removed, I had access to everything I needed. I swapped the new latch with the bottom latch, and the system still did not work. That must mean it’s the center latch, right? Well.. I reconnected the bottom latch, and swapped connectors on the middle latch – and everything came to life. Success! Since that was working, I swapped the mechanical portions of the latches. Done!
During this time, I also had to do some swapping of parts not he handle, because the one that came on the gate was broken, but they had a salvage unit from another truck they had worked on. It took a bit of work, but I adapted my old backup camera (from a non-split gate) to work in the split gate handle. Essentially, I shaved the mounting tabs off the camera, and press-fitted it into the socket for the split gate camera. it worked great. Unfortunately, I failed to capture a photo of that.
Next, on to the welding, and the strikers.
As I said before, the strikers had to be relocated 1″ forward of where they originally were.
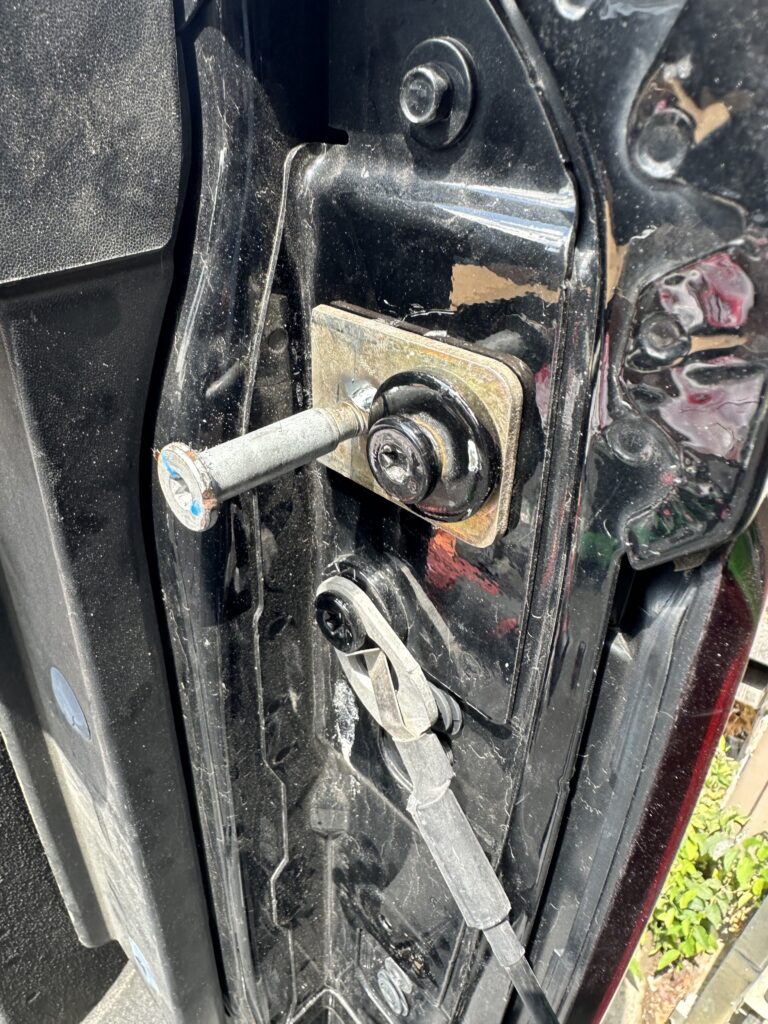
We found a bracket that was stout enough to bolt to the body and hold the striker, and not bed. These brackets happened to have a 1″ slot int hem that was perfect for the strikers to pass through and thread into the truck. We also happened on some bolts that had the same thread size and star drive as the strikers (likely from something on the original tailgate).
There was a lot of clearance between the split gate frame and the side to the truck, so we had some room to work with. in order to gauge where the striker needed to be, we drilled a hole in the bracket, and then threaded the striker through the bracket into the original hole. We then adjusted it in and out until we could comfortably close the gate and get it to latch without interference. Once we had both sides figured out, we marked those points on the bolts, and cut the bolts at the bottom of the bracket, so there was some metal in the bracket to work with for welding.
Rueben then welded the strikers to the bracket – it took a couple attempts to get everything just right and cleaned up, but we made it work. This wasn’t a result of his welding ability – more a matter of working through details, and just making sure things are stout – this part has to be strong, so closing the tailgate doesn’t rip it apart. This ended up working almost exactly as we had planned, once we did some trimming of the washer on the bolt we were using, and hogging out the slot to allow more adjustability.
Here you can see the bronze colored bracket, the grey/silver striker (which is welded to the bracket), and the bolt we used to secure the bracket to the original striker hole. The benefit to the bracket we used was that it’s “square” against the bed, so it limits the amount it can move around, even if it ever did loosen up, which is unlikely. Once this was all done, I sprayed the parts black, and now it (almost) looks like a stock fixture on the truck.
All that’s remaining are a few trim pieces, but overall, it’s a fully functioning split gate now. I don’t have the inside controls, and I haven’t seen the remote tailgate open work (I haven’t tried it), but honestly, that feature is just asking to smash the tailgate on whatever’s behind my truck if I’m not looking right at it! Even the interior controls are not something I’m wanting – I’m just fine only opening the gate from he back of the truck.
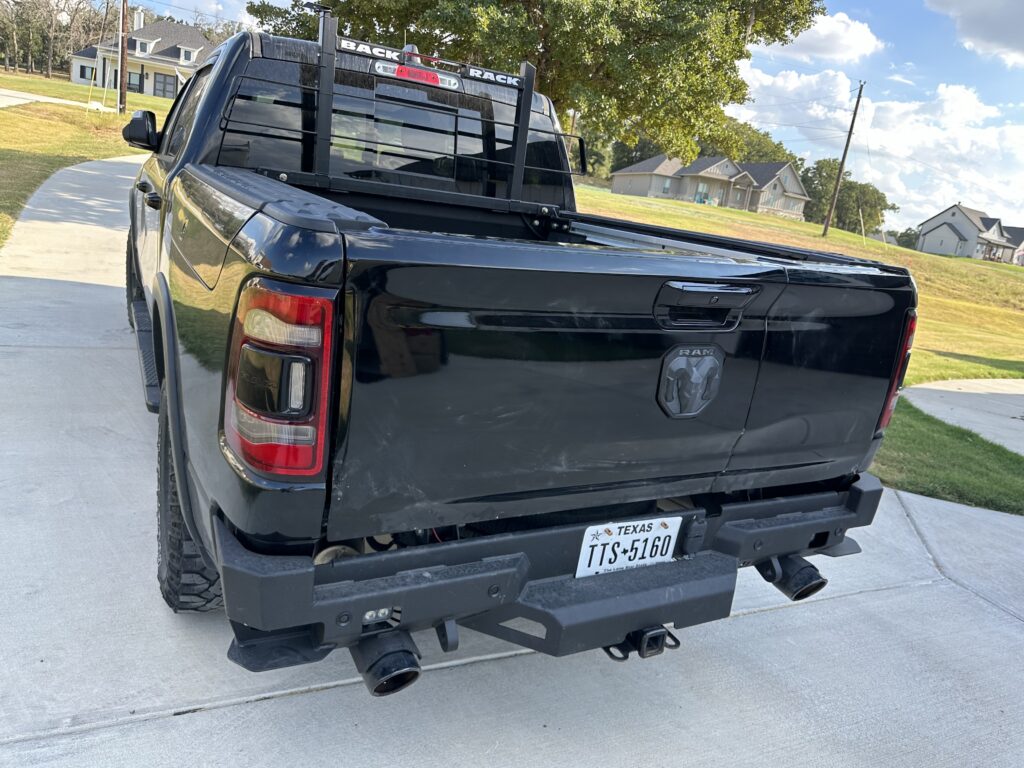
yes, it needs a wash…
Final Remarks
One thing you may notice is the bumper is no longer stock – that’s another minor upgrade we did. It cost only a little more to add a Chassis Unlimited Octane bumper, which added a few features I really wanted, like shackle mounts, corner steps, and backup light holes, while also having holes for the backup sensors. They were a bit slow, but the quality is phenomenal – it took two of us to lift it up to mount it to the truck, whereas I could carry the old stock bumper with one hand. You’ll also notice that those hoops / steps off the original hitch are gone – they seemed to interfere with the new bumper, so we pulled them off.
