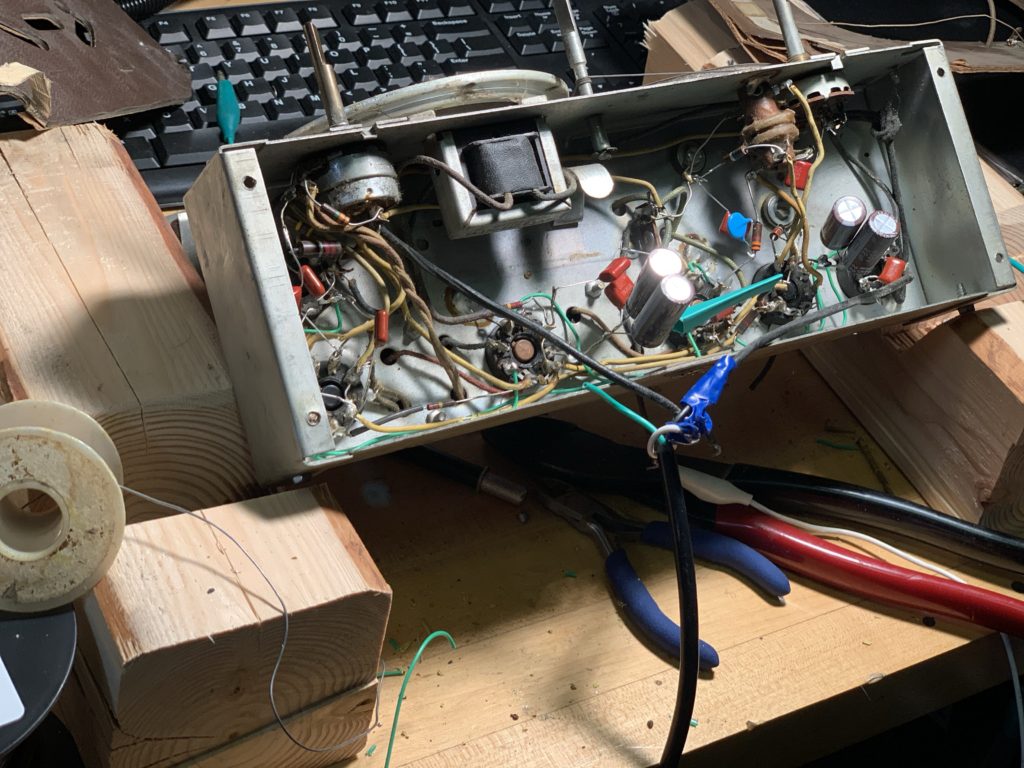
Prior to receiving the tubes, I had gotten the electrolytics in, and replaced all of the capacitors under the chassis except for one of the square molded “Solar” brand mica capacitors (the only one in the radio). That didn’t change operation, except for reducing the hum slightly. Darn. I was not relegated to hoping it was a bad tube.
It took a couple days, but I got the new tubes in the mail, and was impressed with what I got… NOS, original packaging, and two of them were even military packaging with “Contract” info on the package.
I hastily swapped out the tubes, and brought the radio back up on the variac, so I could make sure there were no remaining wiring or component issues. Once I had voltage up to 90%, I started tuning the knob (note, I had removed the antenna to repair it), and was greeted by talk of Iowa Hawkeyes Football… WMT AM600 has a killer signal in this area, and can sometimes even be received on things that aren’t supposed to be radios!
At this point, I knew I had a viable project. Obviously, I had a bad tube… though I don’t know which one… I don’t have a tube tester. I set my old tubes aside, planning on eventually checking them out to see which one was my culprit.
So… on to wiring. As I said before, I had no plans on spending a ton of money on “period-similar” wire. This was to be used, and I don’t expect people will look under the chassis.
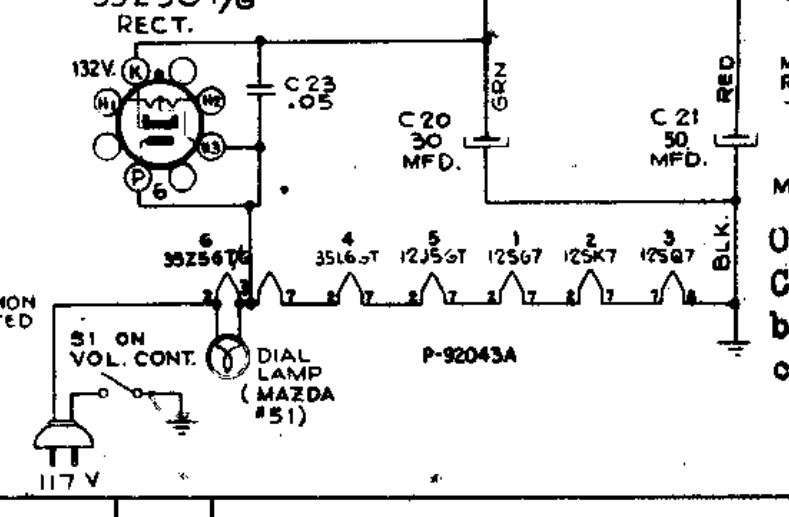
A trip to Lowes yielded a couple cloth-covered extension cords with some nice flat plugs (cloth over the normal plastic insulation… but they LOOK vintage)… and a 50′ spool of 18-5 thermostat wire. After reviewing the schematic and service documents, this radio doesn’t have any voltages higher than 100V, except for the 132V plate voltage on the output of the rectifier, and the line cord voltage connections to the power switch and going IN to the rectifier tube. I also did some research, and for this type of radio, it seems that 18 AWG is plenty sufficient for the currents within the radio.
Since this was my first radio, I decided to take a very methodical approach… replacing one wire run at a time. In removing the old (very crumbly) wiring, I noted that the original wires were also approximately 18 gauge… but I digress. I started with the heater wiring for the various tubes, noting that all 6 were in series, connected across the 115 VAC line.

As with all of my project radios… the dial lamp is blown, so I need to find a replacement… those bayonet style lightbulbs aren’t as easy to find as they used to be, now with all the LED bulbs in today’s flashlights.
With the help of my trusty sidekick (she’s 2, so she pretty much watches cartoons while I work), I put the radio on a set of blocks I cut to hold the chassis while I worked, and I started in on the heater wires. I think some posts to hold solder and wire, maybe even attaching the soldering iron stand… I can use these 4×4 parts for future radio chassis work.

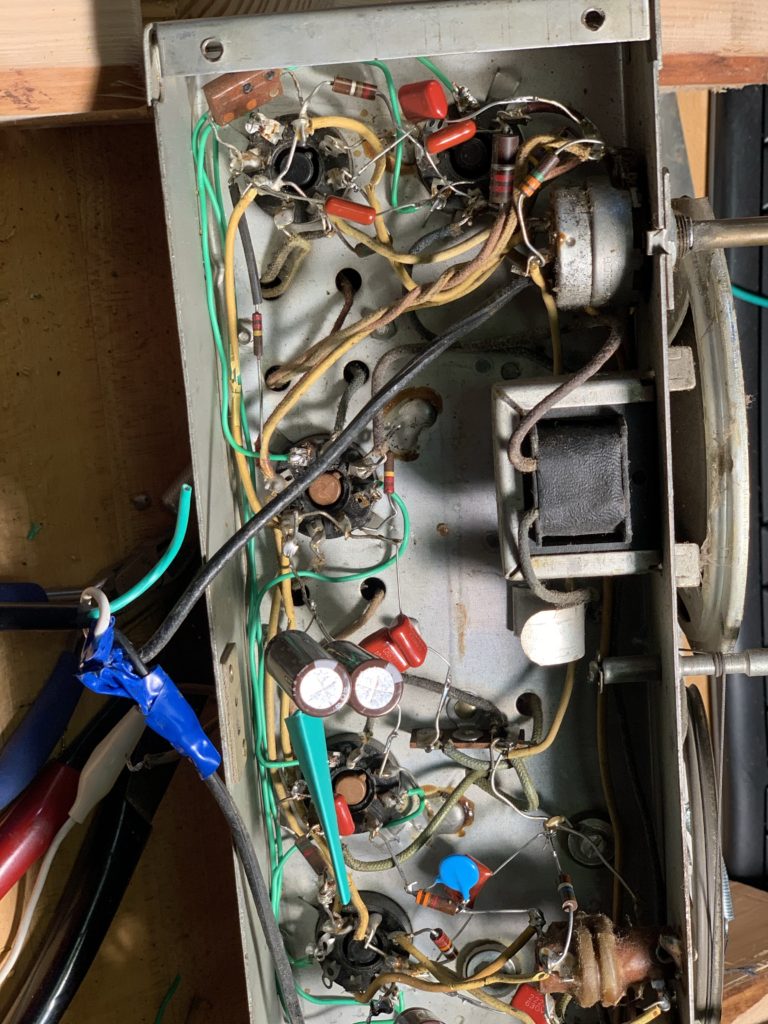
It didn’t take long, and I had replaced all of the heater wires with one color wire (green) – and I plan to use a different color for the other functions (red for plate voltages, etc.).

YES, the line cord I’m using is UGLY, but it’s just a temporary tack job, as are the heatshrink covered capacitor connections, until I get more wiring cleaned up.
Anyway, I finished the heater wires, and turned the radio on… and was greeted with a louder humming than ever before. Great. A little digging around the volume knob showed a capacitor pushed against a resistor lead that shouldn’t have been. Once I separated those and tried again, I was greeted with heterodyning noise as I tuned, and, again, WMT coming in loud and clear… one minor success!