This one’s been in the works for a long time. I’ve always wanted to play with some sort of audio routing device. I’ve worked on a number of different airplanes. My first experience with the T-45 Goshawk and systems got me interested in such devices.
In poking around the web after lunch with KX0STL, and seeing some stuff vendors are building at the Orlando Hamcation, the tinkering bug bit me again. I ended up stumbling on the MT8816 from Microchip. It’s a through-hole part, capable of running off Vdd of +12V… an 8×16 matrix. That’s about perfect for most radio applications.
I found them on Ebay and ordered 10. I needed 1. As soon as I got them in, I tossed one on a breadboard, and then had to wait to mess with it. Finally, a week later, I had spring break, and got to play with it. There’s a LOT of pins (40), so to make it simple, I mapped the pins and functions to an image using excel:
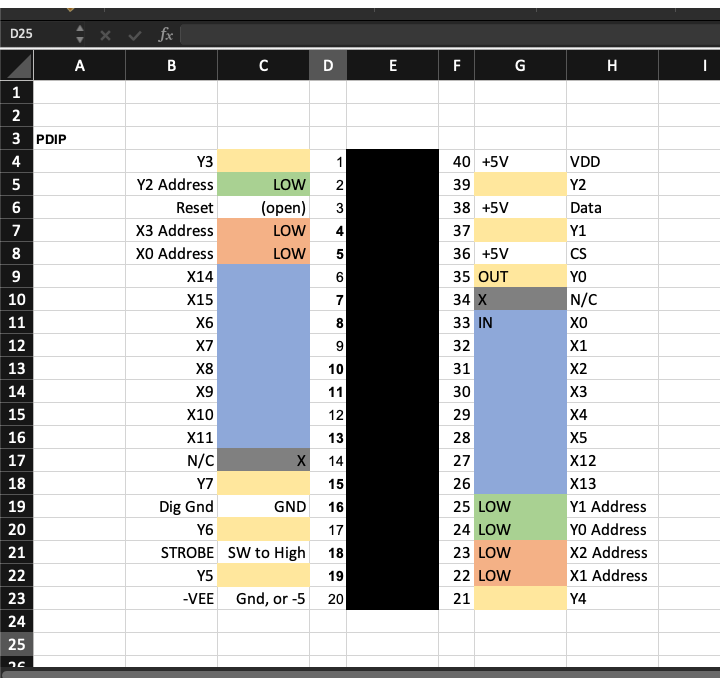
In digging into it, Vee might be a bit of a challenge, because it NEEDS to be -V, to allow for an analog signal with zero DC offset. There’s ways to solve that.
Anyway, I pulled out my signal generator / oscilloscope (Digilent Analog Explorer), and realized it actually HAS +/- supplies with respect to ground. This was great – I could use that to not only test the audio paths, but also to power the device.
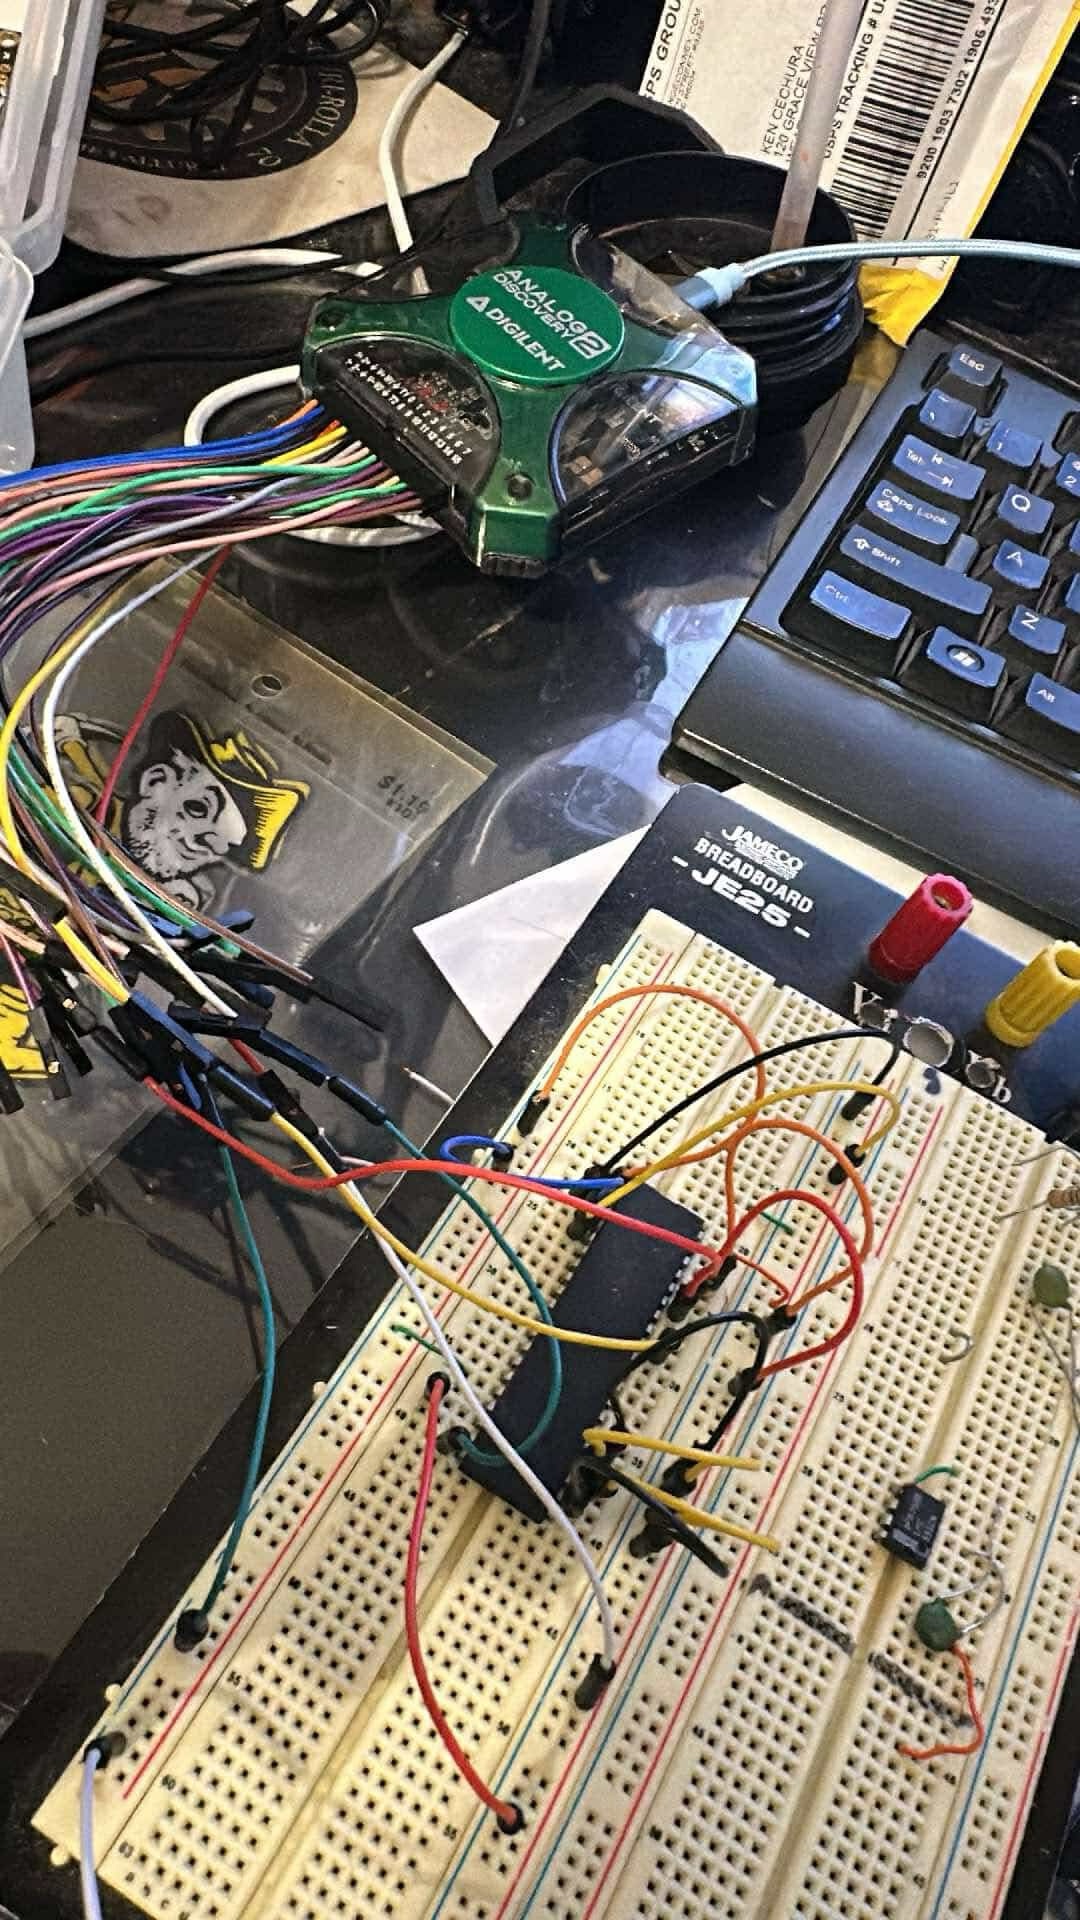
so, I lashed the X and. Y address lines to ground to get X0-Y0 working. it was a lot of pins tied to ground. I pulled the strobe line high, then to ground, and lo and behold, I had throughput on X0-Y0!

A few more trials, and I could route audio any way I wanted to. I also learned that the switch can connect multiple Y lines to a single X line, in essence connecting the Y lines to one-another.
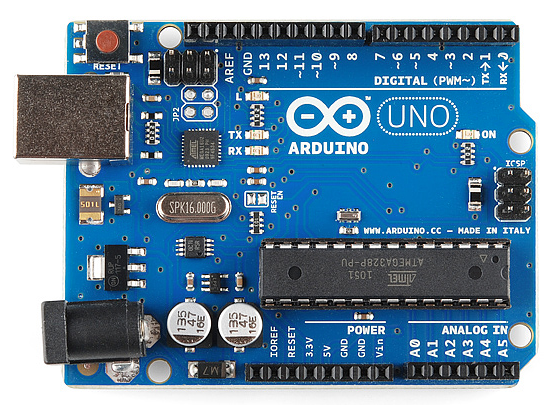
I tried using an Arduino to set addresses and drive the strobe, but with no luck. It might be an issue of forgetting how to write Arduino code (I’ve done Matlab, Python, and VBA site a bit since I’ve done ANY Arduino), or not having pull up/down resistors. Because the final project will need more pins than an Arduino normally has, I ordered 10 T.I. SN74LV8153Q1 Serial to Parallel chips. I’ve used these with great success in the past… letting the Arduino drive the parallel devices using 2 serial lines. That’s the next task…